
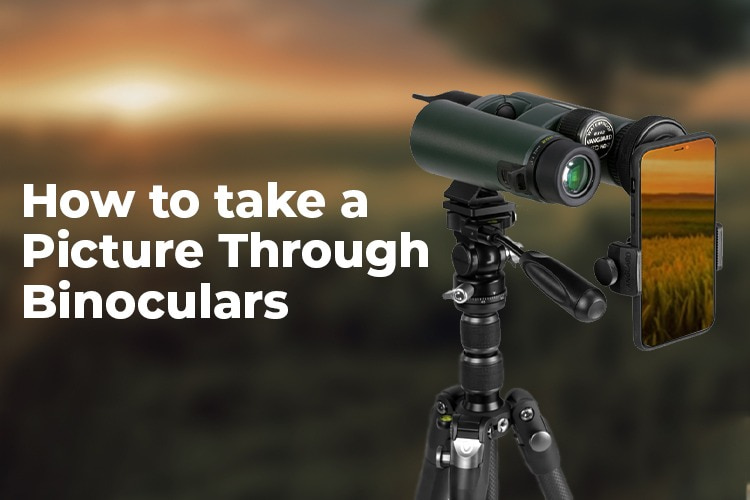
Step by Step Guide for Beginners to Take a Picture
Through Binoculars with Smartphones or Camera
If you’ve ever wondered how to capture stunning images through your trusty binoculars, you’re in the right place. In this guide, I will walk you through the process step by step, making it accessible even if English isn’t your native language. By the end, you’ll be well-equipped to snap breathtaking photos of distant objects using your binoculars.
Step 1: Gather Your Equipment
Before start your journey to capture distant wonders, make sure you have the necessary equipment:
- Binoculars: Any binoculars with good optics will work. Ensure they are clean and free from dust or smudges. It’s always best to select quality binoculars.
- A digital camera or smartphone: A camera with manual settings or a smartphone with a good camera app will do.
- A tripod or steady surface: To eliminate hand-shake and ensure steady shots.
- An adapter (optional): For smartphones, you may need an adapter to attach them securely to the binocular eyepiece.
- A remote shutter release (optional): This helps reduce camera shake during the shot.
Step 2: Choose the Right Location
Select a location with a clear line of sight to your subject. Ensure minimal disturbance and vibrations to get the best shots. Avoid shooting through windows, as they can introduce reflections and distortions.
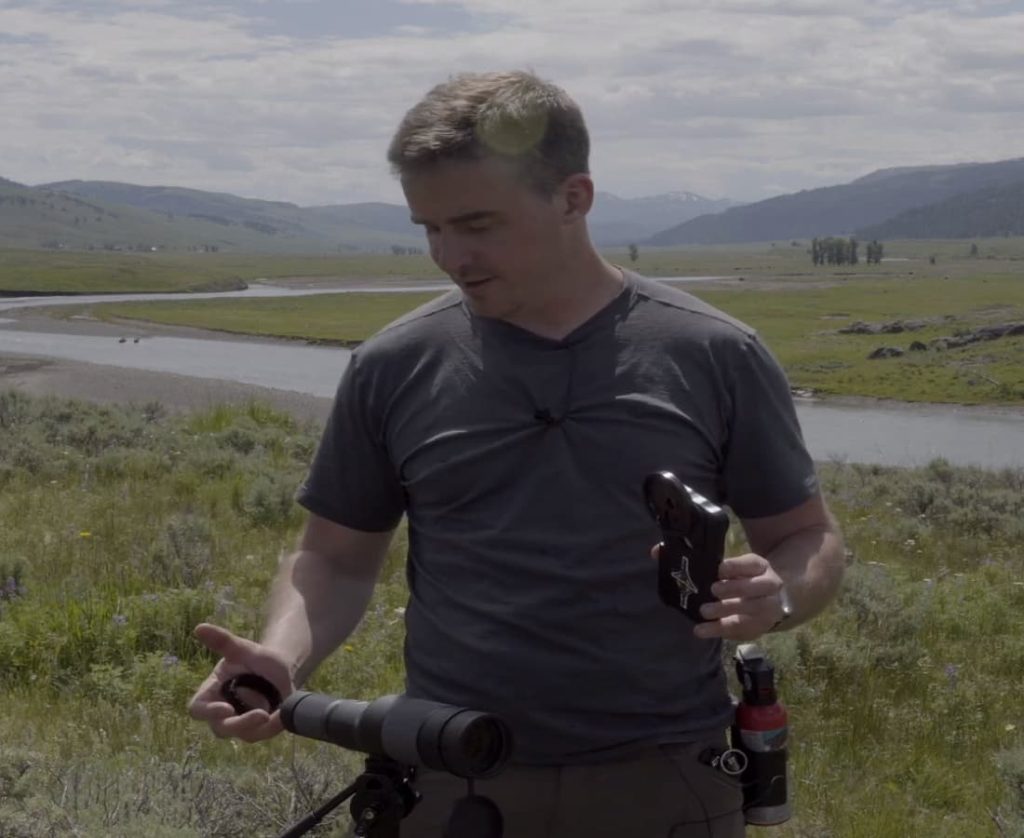
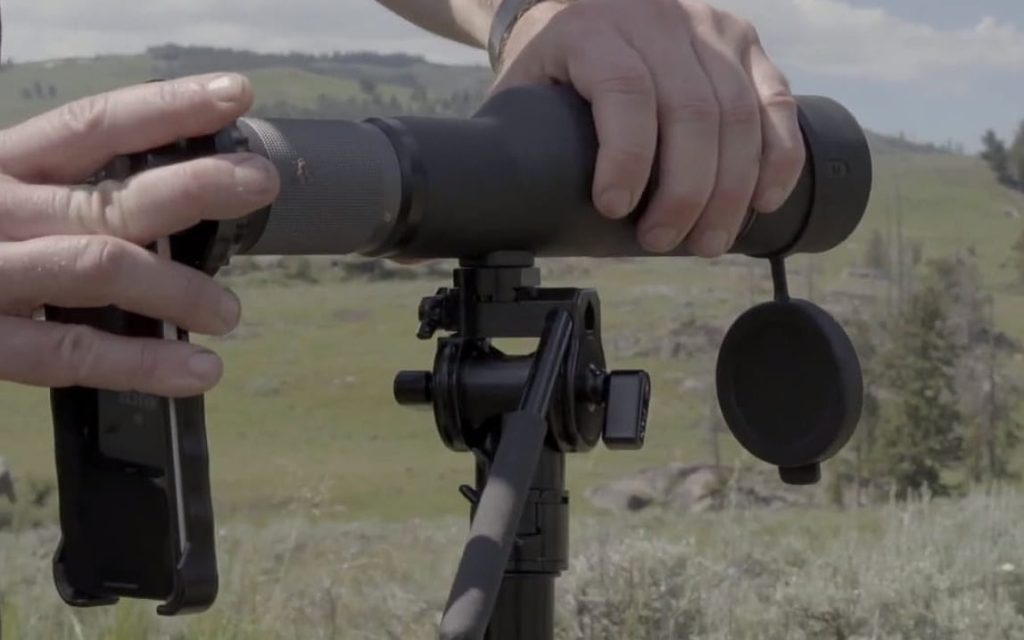
Step 3: Set Up Your Binoculars
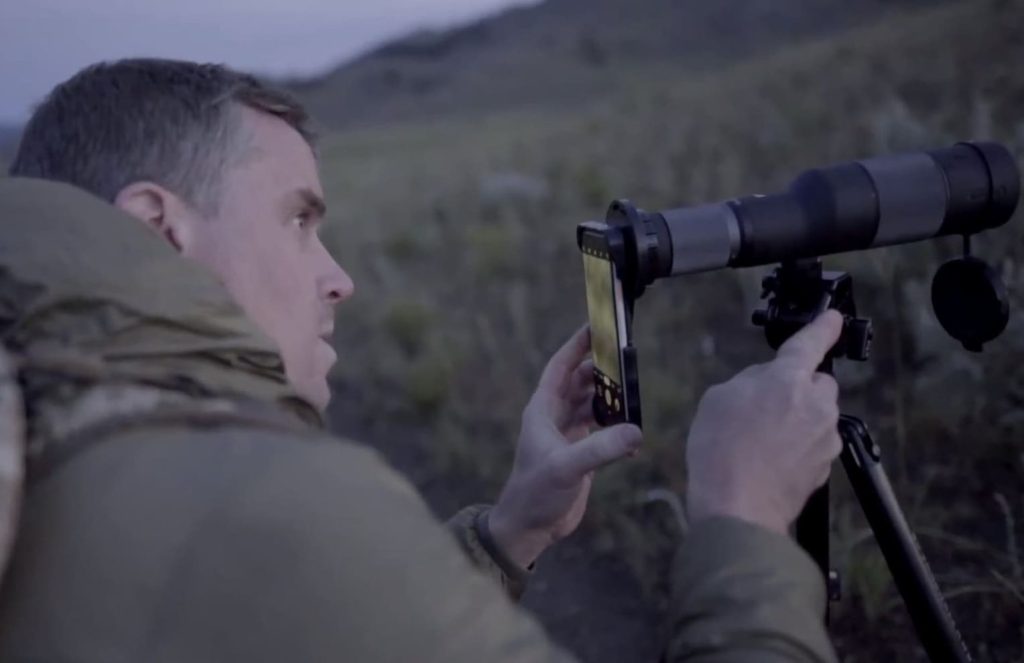
If you have a smartphone adapter, attach your smartphone securely to one of the binocular eyepieces. Ensure it’s aligned with the lens. If not, position your camera or smartphone close to the eyepiece, ensuring it’s centered.
Step 4: Focus Your Binoculars
Adjust the binoculars’ focus to bring your subject into sharp view. Use both the central focusing knob and the diopter adjustment if your binoculars have one. Make sure the image through the binoculars is crisp. You have to focus correctly to get a clear view.
Step 5: Adjust Your Camera Settings
For cameras with manual settings:
- Set your camera to manual mode (M).
- Adjust the ISO to the lowest setting for better image quality (usually ISO 100 or 200).
- Select a small aperture (high f-number like f/8 or f/11) for a larger depth of field.
- Choose a fast shutter speed (1/500s or faster) to avoid motion blur.
- Turn off the flash.
- Set the focus mode to manual.
For smartphones:
- Use the default camera app or a dedicated photography app with manual settings.
- Adjust ISO (if available) to the lowest setting.
- Lock focus and exposure on the subject by tapping and holding the screen.
- Use the volume buttons or a timer to take the shot without touching the screen to avoid camera shake.
Here are some bonus tips for the iPhone users who want to Take Pictures Through Binoculars
- Shine On: Bright light helps you see things clearly with your binoculars and makes your phone camera take better pictures too. No dark and grainy photos!
- Zoom Smart: Don’t pinch your screen before you snap the shot. It makes your picture fuzzy. Instead, crop your picture later to get closer to the cool stuff.
- Be Happy with Blur: Don’t get bummed if your picture isn’t perfect like a fancy camera. You might see some dark edges or a little shake, but that’s okay! It can even add a cool effect.
- Practice Makes Perfect: The more you try, the better you’ll get at lining up your phone and binoculars right. Don’t worry if it takes a few tries, just keep clicking and pick the best ones!

Step 6: Compose Your Shot
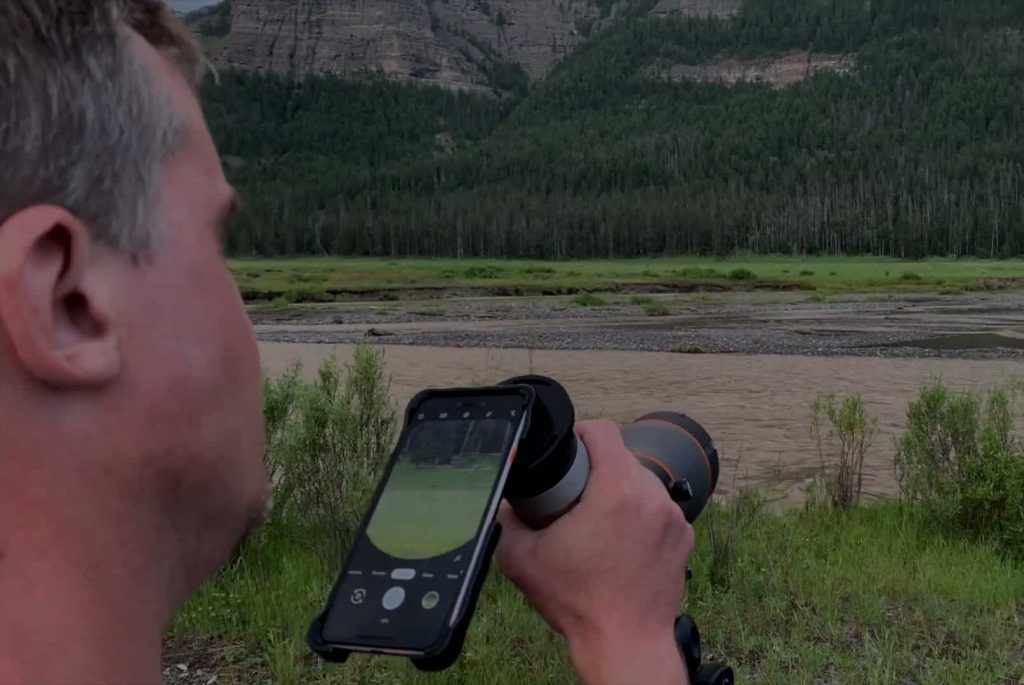
Position your binoculars and camera or smartphone so that the subject you want to capture is in the center of your viewfinder or smartphone screen. Pay attention to the framing and make sure the composition looks pleasing.
Step 7: Fine-Tune the Focus
Using the binoculars’ focusing knob, fine-tune the focus while observing the image on your camera’s screen or viewfinder. Take your time to ensure the subject is perfectly sharp.

Step 8: Reduce Camera Shake
To minimize camera shake, use a tripod or find a stable surface to rest your camera or smartphone on. If you have a remote shutter release, use it to take the shot without physically touching the device.
Step 9: Capture the Image
With everything set up, press the shutter button on your camera or smartphone to capture the image. If using a smartphone, use the volume buttons or a timer to trigger the shot to minimize vibration.

Step 10: Review and Adjust
After capturing the image, review it on your camera or smartphone screen. If it’s not as sharp as you’d like or needs minor adjustments, don’t hesitate to make them and take another shot.
Step 11: Post-Processing (Optional)
After you’ve got your picture, you can take it up a notch with some post-processing. You have the option to utilize photo editing applications or software in order to make alterations to exposure, contrast, and color settings. However, remember that less is often more, and subtle adjustments can yield the best results.
Step 12: Share and Enjoy
Share pictures with your friends. Celebrate your achievement and continue to practice, experimenting with different settings and subjects to improve your skills.
Taking pictures with binoculars can be a truly fulfilling and easily achievable method for discovering the beauty of the world that surrounds you. With the right equipment, proper setup, and a steady hand, you can bring distant objects and stunning landscapes closer to your lens. So, equip yourself, venture into the world, and let your binoculars be the window to enter into the photographic adventures world.